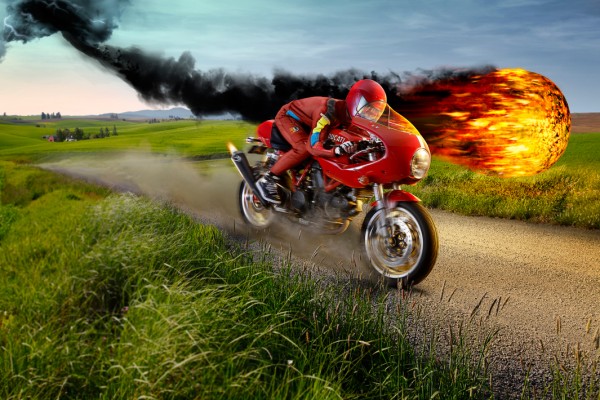
Transcending the boundaries between photography and fine art, Studio 3’s digital art department has been hard at work expanding creative possibilities through flawless photo retouching & enviable digital art. Get to know the magicians and how they manipulate photoshop to work to their advantage.
Being a Digital Artist is a ton of fun. When I began my career in the Graphic Arts about ten years ago I never imagined myself doing the things I do now. Back then I did a lot of flyer design for nightclubs, brochures for salons, etc., and the occasional logo design to now doing incredible digital art and photo retouching. After teaching myself the ins and outs of Photoshop in relation to Graphic Design, I capitalized on that experience and landed a job with a local photographer and began getting into some actual photo retouching. It was at this point that I figured out that I could combine the two and achieve some pretty amazing results. I began taking my own pictures, and manipulating them into some pretty interesting, other-worldly things. I used my retouching experience to make the images perfect, and my design experience to composite the pieces together in a way that was aesthetically pleasing.
Studio 3 has given me a platform to really expand my Digital creativity exponentially. Also, the amount of Photoshop knowledge I have gained during my time here is immeasurable. I work with such a creative and capable team that I learn something new almost daily.
If I had to name favorite Photoshop tool / trick it would have to be the brush tool. The brush is my best friend when working on a digital project. It can be used to change the color of an image, add or subtract from an image, blend, and airbrush. I even use the brush tool frequently to hand paint elements into an image that weren’t there to begin with. It’s incredibly universal.– Alex Gumina, Digital Lead
I’ve worked in art-related fields for over two decades. As a painter with a technical bent, I enjoy expressing my creative and scientific inclinations as a Digital Artist. Working with Photoshop is like doing math using pixels and images instead of numbers and equations, to create an awesome photo retouching experience. I love it, and there’s always something new to learn or a different approach to take.
I draw my inspiration from the visual arts – Painting and photography. I enjoy contemporary art magazines not only to see what the latest trends are, but to imagine what we could innovate next.
One of my favorite Photoshop tricks is pretty old-school. With a new twist, I’ve found that it becomes even more useful.
Here’s the old-school part: I use a black and white version of the image as an adjustment layer mask. This allows me to affect the highlights more than the shadows. Or, if I invert the layer mask, I can focus the adjustment more on the shadows. Apply curves to adjust the mask, blur it, paint on it, etc.
For a new twist, I use a Black & White adjustment layer to fine-tune a greyscale version of the image. This way, I can affect the masking of certain colors more than others. Often, I’ve found this to be more intuitive and precise than using channels, the Color Range tool, or just painting a mask with the Brush tool. Once I find a good-looking mask with the Black & White adjustment layer, I “Select All” and “Copy the Merged” layers. Turning off the Black & White adjustment layer, I create my new adjustment layer and paste my new layer mask in place.
And then it is time for a sandwich.-Carl Beery, Digital Artist
To Check Out An Incredible Portfolio Of Photo Retouching Visit Our Website!
